Warriors: Abyss Pre-Order and DLC
Unlock the Power of Translation in Google Chrome: A Step-by-Step Guide
This guide provides a clear walkthrough on utilizing Google Chrome's built-in translation features for seamless multilingual web browsing. Learn how to translate entire web pages, selected text snippets, and customize your translation settings to effortlessly navigate the internet's diverse linguistic landscape.
Step 1: Accessing the Settings Menu
Locate and click the Chrome menu icon (usually three vertical dots or three horizontal lines) in the upper right-hand corner of your browser window.
Step 2: Navigating to Settings
In the dropdown menu, select the "Settings" option. This will open Chrome's settings page.
Step 3: Locating Translation Settings
At the top of the settings page, you'll find a search bar. Enter "Translate" or "Languages" to quickly filter the settings and locate the translation options.
Step 4: Accessing Language Preferences
Once you've located the relevant section (usually labeled "Languages" or "Translation"), click to open the language settings.
Step 5: Managing Languages
Here, you'll see a list of supported languages and an option to add or remove languages. This allows you to customize the languages Chrome prioritizes for translation.
Step 6: Enabling Automatic Translation
Crucially, ensure the option "Offer to translate pages that aren't in a language you read" is enabled. This will prompt Chrome to automatically offer translation for pages in languages different from your browser's default language.
By following these steps, you'll be empowered to effortlessly translate web pages and overcome language barriers, making your online experience more efficient and enjoyable.
-
Roblox has introduced a new licensing platform designed to streamline collaboration between Roblox creators and intellectual property holders such as Netflix, Lionsgate, and Sega. License Manager enables "eligible creators" to easily access approvedAuthor : Sarah Mar 27,2026
-
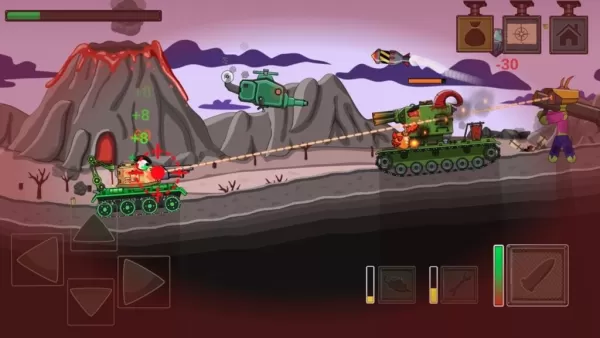 Following the release of TankCraft – War Tank Battles, indie studio FunTankGames has launched its sequel, TankCraft 2: Hell Bosses War. The developer's other mobile titles include Tank vs Zombies: Tank Battle, Blocky Tank 3D: Noob vs Zombie, and StelAuthor : Anthony Mar 26,2026


- STALKER 2: Heart of Chornobyl - All Endings (& How to Get Them)
- Metaphor: ReFantazio - Complete Bond Guide
- NYT Hints and Answers: Guide to January 10, 2025
- Steampunk RPG Eldgear Unveiled by KEMCO
- Discover the Artifacts in Stalker 2: Locations and Acquisition
- Mushroom Go! Unleashes Co-op Dungeon Adventure for Fungi Fans